Driving a scooter in Thailand is almost a travel essential – whether you’re weaving through Chiang Mai’s little alleys, cruising along the coast, or just trying to survive a roundabout without losing your cool. It’s fun, it’s practical and honestly, it’s almost impossible to imagine daily life here without one. But here’s the thing: in spite of what 90% of the Internet says, to do it legally, you do need a proper motorbike driving licence.
What driving licence do you need?
You can find out in my other blog post – “How to drive a scooter in Thailand legally”. Together with practical tips on renting and driving a scooter in Thailand.
Since I’m currently living in Chiang Mai and I couldn’t get the appropriate international scooter driver’s licence in my home country, I decided to get a Thai motorcycle driving licence here on the spot. How did it go? Keep reading.
One thing though!
Before you start imagining me as some sort of legal expert – let’s clear that up straight away. This is NOT A LEGAL GUIDE on getting your Thai motorcycle driving licence, so please don’t treat it as one. Even though I do go into detail and share all the “steps”, this post is more of me sharing my own experience of navigating the (sometimes confusing, sometimes a bit funny) process of getting a Thai motorcycle licence in Chiang Mai. Can you get a licence following in my footsteps? Yes! Well, I got it. But consider it more of a “the slightly chaotic, very human version” version of events rather than an official manual.
So let’s dive straight into it!
How I got my Thai Motorcycle Driving Licence in Chiang Mai
I will try to keep it brief and to the point – but I can’t promise anything. I do like to ramble.
Let’s start with some general basics:
1. How to get a Motorcycle Licence in Thailand: The Two Paths Explained
There are basically two ways to get your Thai motorcycle licence: you can either head straight to your local Department of Land Transport (DLT) and go through all the required tests there, or you can sign up for a 2-3 day motorcycle driving course at a driving school and complete your exams there. Either way, you’ll need to pass an exam – there’s no skipping that part, but in my opinion going “through” a driving school feels a lot less overwhelming than dealing with the DLT directly. From the moment you sign up, the school basically walks you through every step.
Since I did chose option 2 – a driving school – I will only be talking about my experience with that route and sharing tips and insights from my own journey, not the direct DLT process.
Driving school in Chiang Mai?
The driving school I chose is called: Honda Safety Riding Park Chiang Mai. It’s a premier motorcycle (and car) training facility that offers a wide range of driving courses and serves as a comprehensive training center for riders of all levels. It’s actually located in Doi Saket District, so it takes a good 20-30 min to get there from Chiang Mai.
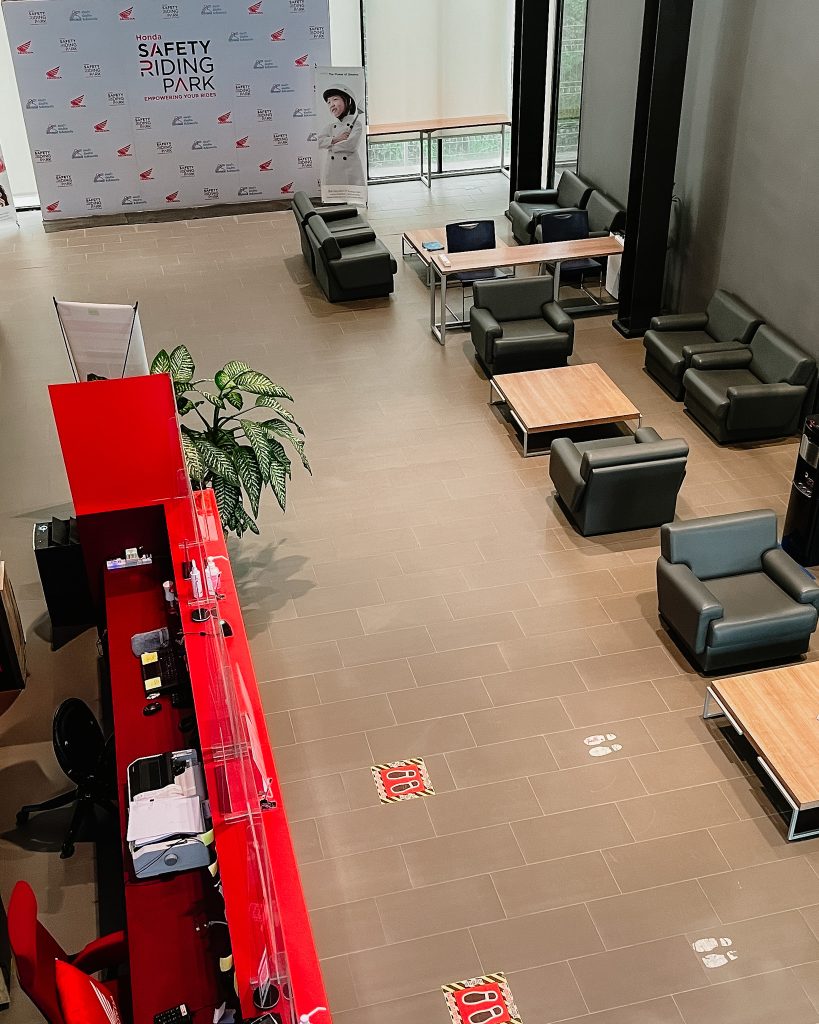
I was happy with my choice of school. Even though there was a bit of “waiting around”, plus I could easily wrap this whole course up in 2 days instead of 3, it’s definitely one of the best spots in Chiang Mai if you want to get serious about riding. The (English speaking) instructors are patient and professional, the facility itself is well-organized, the equipment is new and reliable. I felt safe and supported the whole time, which made learning way more enjoyable.
2. What’s the process of getting a Thai motorcycle driving licence via driving school?
If you decide to go the driving school route, the process of obtaining your licence is fairly structured. There are a few steps you can do alternately, but to keep it simple, I’ll describe the process I went through.
- Pick the driving school and sign up for the course.
- Arrange the necessary documents.
- Go to the immigration office to get your residence certificate.
- Go to the hospital for a doctor certificate.
- Do the course and pass the exams.
- Go to DLT to pick up your driver’s licence.
Easy? Yes and no! As straightforward as it sounds, there’s more into it. You need photographs, you need passport copies, you need certain documents from your landlord…so let me explain everything in detail.
Important note!
You can also go the doctors and to the immigration office after you’ve already finished the course and passed the exams. But since I had to wait 2 weeks for my driving course to begin (that was the next available date) I had time to sort out all the papers before.
1. Pick the driving school and sign up for a course.
The first part of this step is sorted: Honda Safety Riding Park was the obvious choice for me. After I contacted them they sent me a message with available dates, the cost, the required documents and the choice of courses.
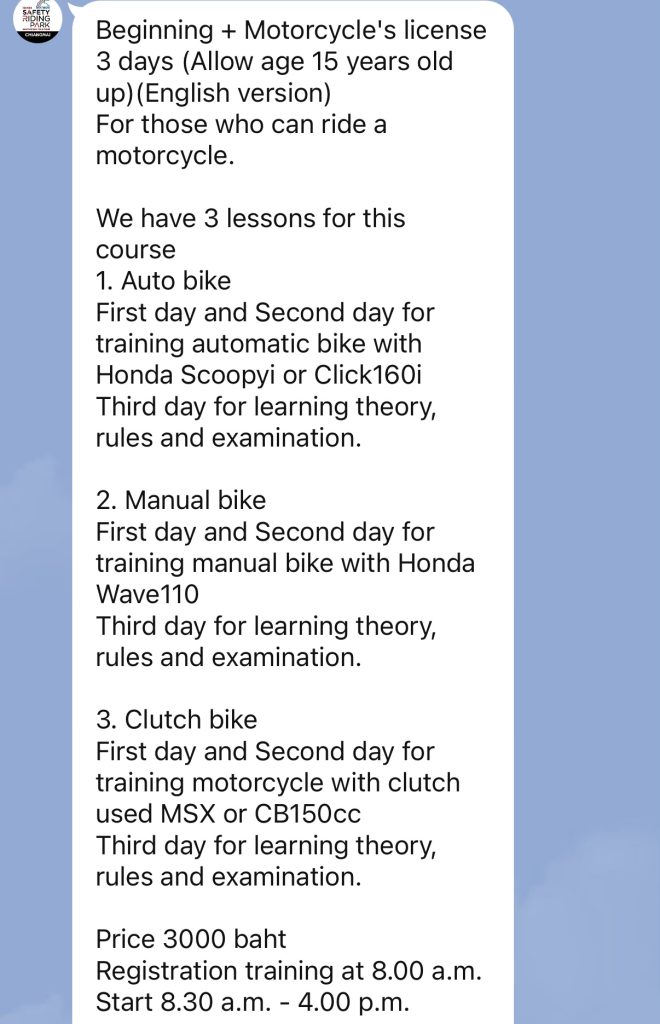
I have to say that I was a bit confused here. There’s only one motorcycle driver’s licence in Thailand. You don’t get a separate one for a scooter or a manual bike or a dirt bike. But since I was only interested in an automatic bike plus it had to be a bike you already CAN drive, I obviously picked the first option. As it later turned out, the choice you made here didn’t matter. During the course you could still choose what type of a bike you want to train and pass your exams on. I stuck with an automatic, but there were people who chose clutch bikes. As I said, it really didn’t matter – we still all had to go through the same process, pass the same tests and we got the same driver’s licence.
As you can see here, the price for the course is (July 2025) 3000 Thai baht. Paid at the school during registration.
2. Arrange the necessary documents.
This step is all about paperwork — and yes, Thailand loves its paperwork. To register for the course and to later apply for the licence, you’ll need a few key documents. I’ll divide them into the documents you need for registration at the driving school and then later for picking up your licence at DLT.
For your first day at Honda Safety Riding Park, you’ll only need to bring along two essential “documents”:
- two copies of your passport photo page;
- one 1-inch photograph, not older than 3 months.
That one was easy. Now a bit more complicated part begins, so bear with me.
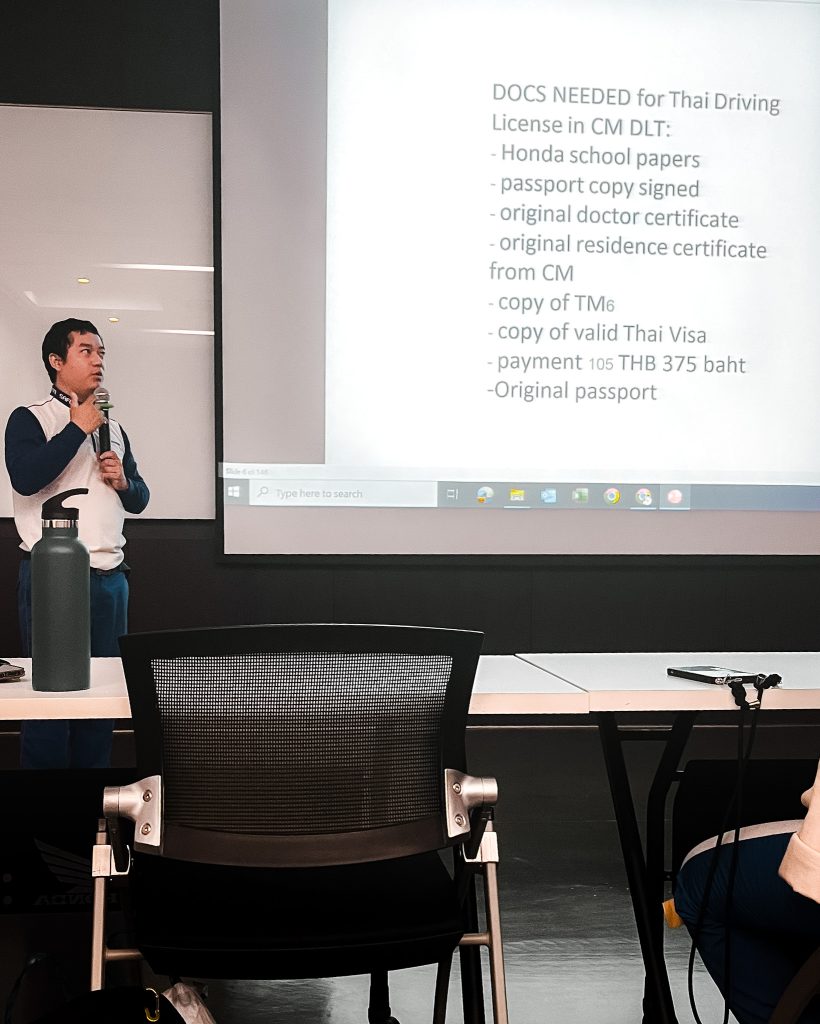
To pick up your motorcycle licence at the DLT, you’ll need to have:
- Honda school papers – that you will receive from the school after passing your exams;
- signed passport photocopy. Again, only the photo page. Although there will be a passport copy attached to your school papers, from the copies you delivered during sign up, so you don’t need to print an extra one;
- doctor certificate;
- residence certificate from the immigration office. And here it gets more tricky. Because to receive the residence certificate you need extra documents! How fun, eh? But more about it in the next paragraph;
- copy of valid Thai visa;
- copy of TM6 – now, TM6 doesn’t exist anymore. At least it didn’t in July 2025. What I did, was to print out my TDAC – Thailand Digital Arrival Card. They accepted it.
When I went to the DLT to pick up my licence, they also asked for a copy of my passport with the Thailand entry stamp. I had to run over to the photocopy shop right there at the DLT, but to save yourself the hassle, it’s smarter to bring a copy with you in advance. And don’t forget your actual passport, because you’ll need that too. Oh, and bring some cash – the licence fee is 105 THB.
But ok, I’m getting ahead of myself. You still know nothing about the course.
As I mentioned earlier, the next two steps: getting your residence certificate and medical certificate, can technically be done after finishing the course. But since I wanted to have all the paperwork out of the way as quickly as possible, my next step was…
3. Go to the immigration office to get your residence certificate.
From all the “steps”, I was kind of stressed about this one, but it turned out to be quick and easy.
Getting your residence certificate from the Chiang Mai Immigration Office is super important. This document basically proves your address in Thailand and is required for the licence application.
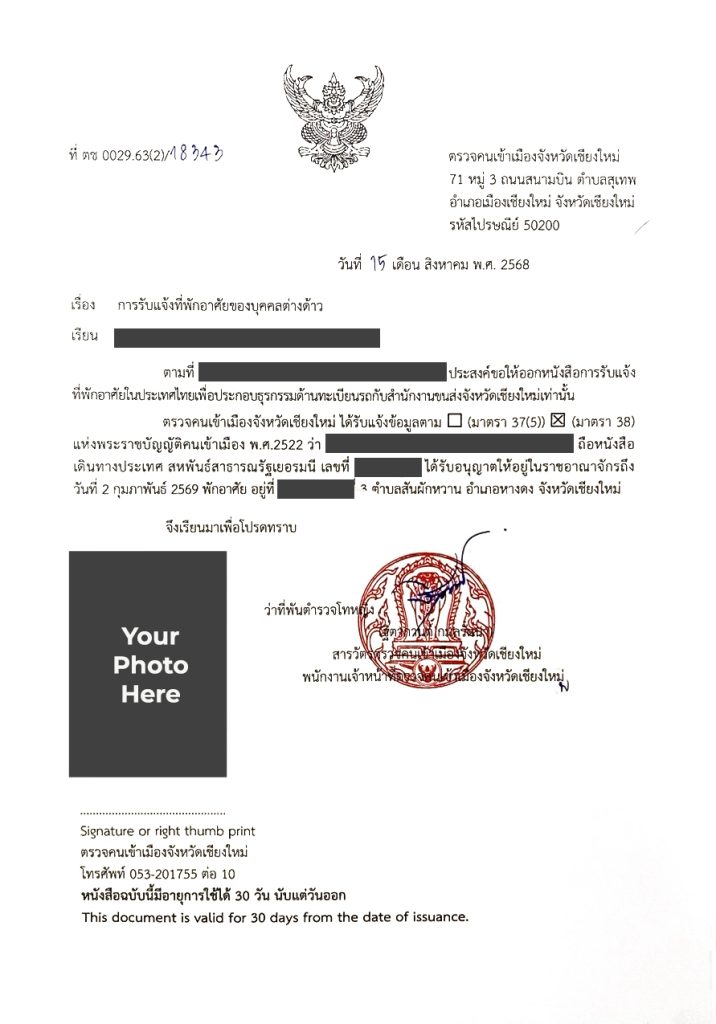
But as I mentioned, to get it, you’ll need some extra paperwork, like:
- rental/lease agreement from your landlord;
- TM30 – a document that is also provided by your landlord;
- copy of Thai visa;
- copy of your passport photo page;
- copy of the your Thailand entry stamp;
- 1 passport photo.
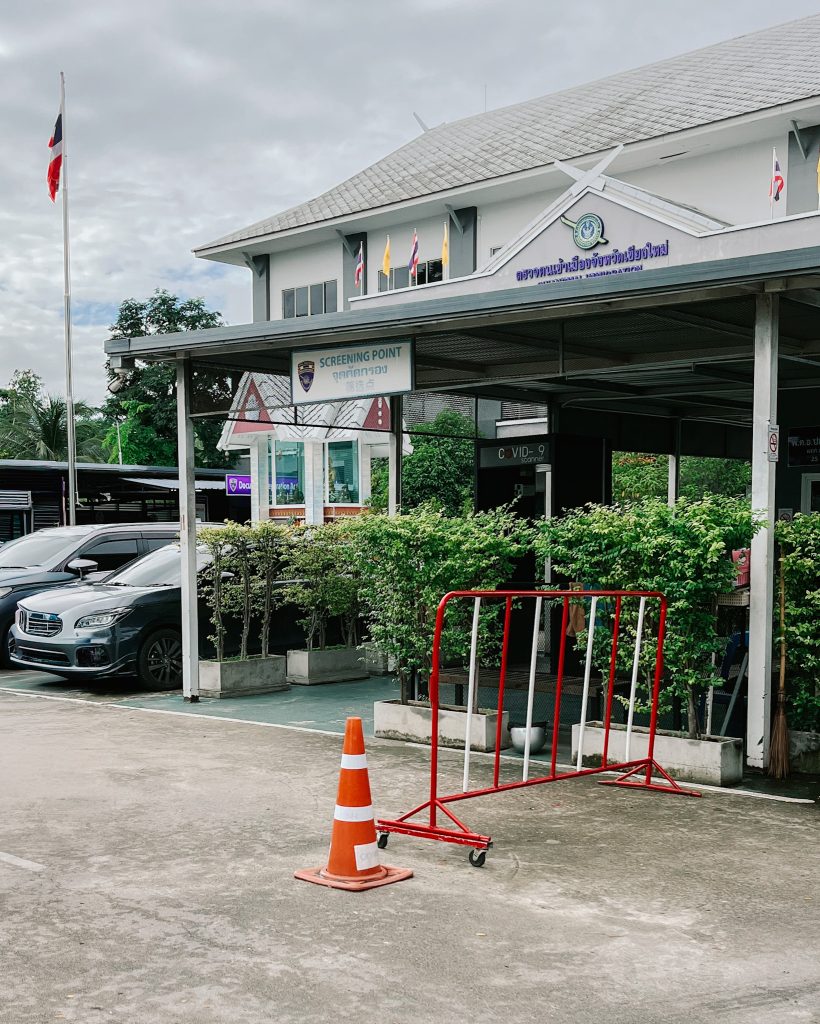
After collecting all the documents, which didn’t take long at all, I went to the Chiang Mai Immigration Office. Luckily, you don’t have to make any appointment to get your residence certificate. All you need to do is head to the immigration office (the earlier in the day, the better), bring your passport and required documents, and submit them at the counter. The officer will review everything and then let you know the date when you can return to pick up your certificate.
Super important info!
Usually, it can take a few weeks for your residence certificate to be ready. However, if you’d like things to move along a little faster, let’s just say there’s an unofficial fast-track option. When handing the documents to the officer, you need to put 500 baht in your passport. The officer will simply take it, no questions asked, and tell you to come back the next day. I’ll admit, it felt a little strange at first, but the officer didn’t bat an eyelid…so I guess that’s just how things work.
4. Go to the hospital for a doctor certificate.
That part was honestly the easiest. I went to Chiang Mai Klaimor Hospital, which is the one recommended by the Honda School (probably because it’s conveniently close to the Chiang Mai immigration office). The whole process was super quick and straightforward. At reception, I was pointed to the section of the hospital that handles these certificates, filled out a few forms, had my blood pressure checked, and then saw a doctor. He asked me a couple of basic questions, listened to my chest with a stethoscope and… that was it. Afterward, I paid 220 baht at the cashier, and within about 15 minutes I had my medical certificate in hand.
But you can go to basically any hospital. My course colleagues went to Chiangmai Ram Hospital.
Speaking of doctors and hospitals – they can get expensive fast. Don’t take the risk of unexpected bills! Make sure you have travel health insurance! I recommend SafetyWing – it’s one of the best options out there.
I recommend SafetyWing
5. Do the course and pass the exams.
Once the paperwork was in order, it was time for the real deal: the course and the exams. At the driving school, you’ll spend a few days going through both theory and practice — learning the basics, brushing up on traffic rules, and then getting plenty of time on the bike.
In contrast to the schedule the Honda School provided me with, my course started with theory (instead of practice). Pouring rain might have had something to do with it.
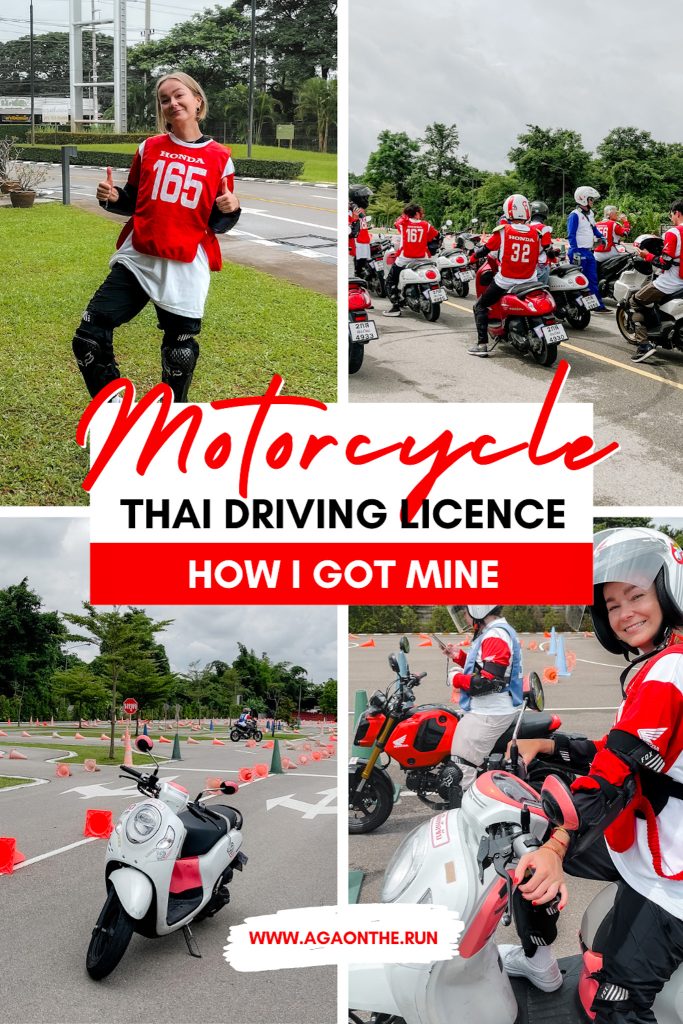
Driving course – day 1.
So yep, after handing in the required documents (see above) and officially registering for the course, all participants were told to… well, wait – there was a lot of waiting around during those three days. Eventually, we were asked to head into what the staff dramatically referred to as “the big room,” where the course officially kicked off.
The instructor began by going over all the documents we’d eventually need to collect our licence (the same ones I listed earlier), explained how to book an appointment with the DLT and outlined what the next few days of the course would look like. Then came the curveball: he casually announced that the theory test would be happening that very same day. Yep, that was a big surprise that didn’t make me stressed at all! I had assumed the test would be on the final day, so I had absolutely no idea what kind of questions to expect, what topics I should focus on, or basically… anything. Let’s just say my lunch break turned into a frantic cram session instead of a relaxing meal.
Speaking of lunch breaks, though — they were actually pretty generous: 1.5 hours each day. So, if you’re working remotely, it’s definitely possible to bring your laptop along and get a few things done in between sessions.
Learning theory.
The “real” course started after lunch. This was when the instructor walked us through the material that would show up on the theory test. Well, not everything, of course, but definitely most of it. We covered the basics of Thai road rules, different street signs and even some technical car-related questions (yep, even if you’re there for a motorcycle licence, you’ll still get asked about cars on the test).
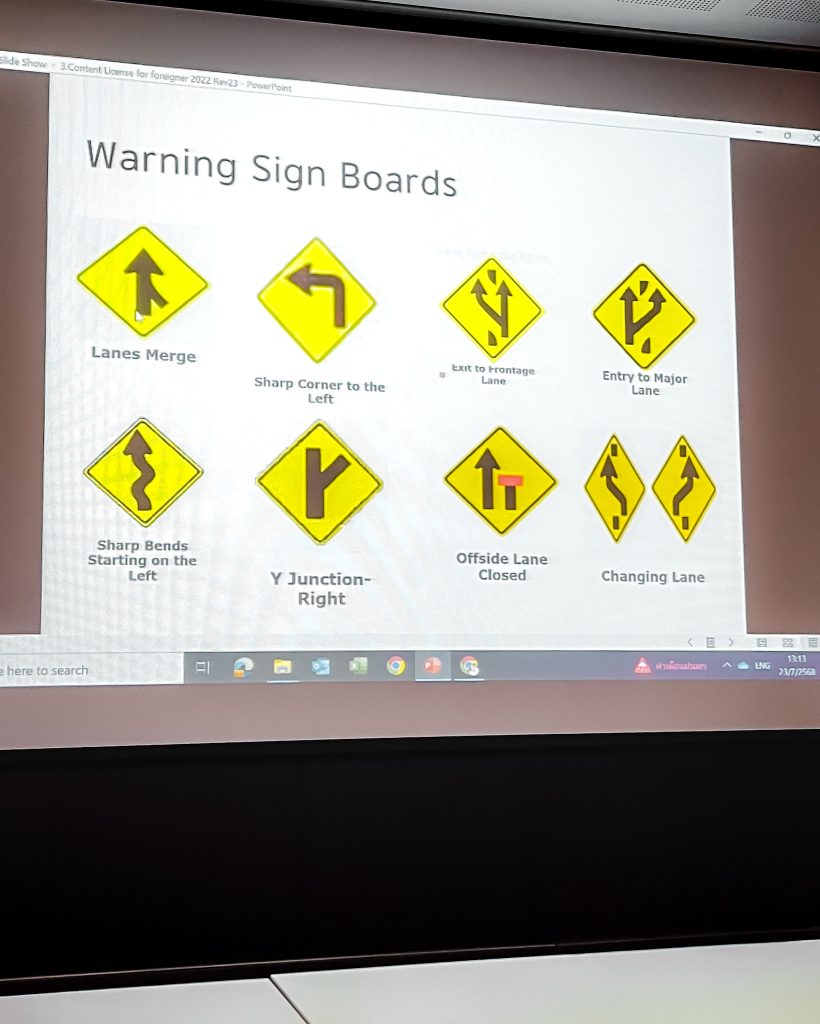
I have to say that it was a lot of information to absorb in one go and staying focused the whole time wasn’t easy. But focus is key, because pretty much everything the instructor mentioned ended up appearing on the test. Can you drive if you have brain tumor or a seizure? I thought that was “useless information”, but yep, I had that question later on the test.
The study session itself was regularly interrupted by “fingerprint breaks”. And yes, it’s exactly what it sounds like. About once every hour, we all had to head over to the exam room to scan our fingerprints on the DLT system that had been set up for us earlier. I think the idea was to confirm our identity throughout the day and make sure no one else was secretly taking the course in our place.
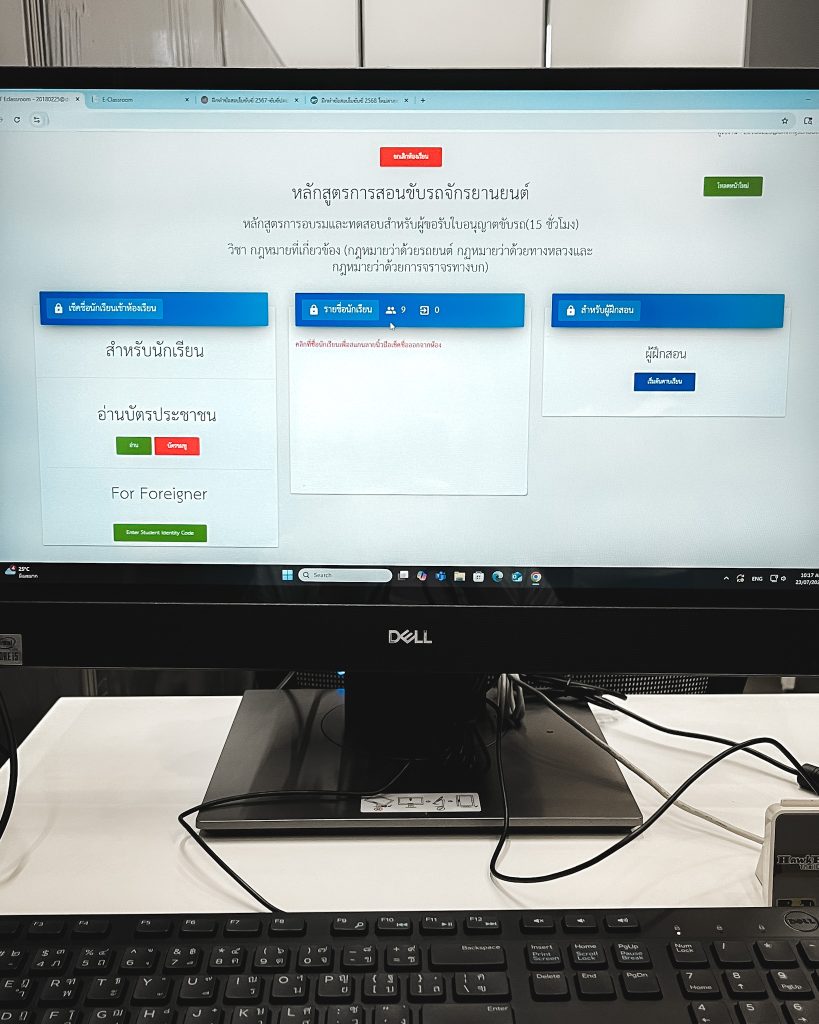
Around 4 PM, we were sent to the exam room for what we thought would just be a quick practice test. And it really was quick – about 20 minutes later, the instructor announced that the real test was about to begin. Yep, surprise! No extra prep time, just straight into it. Luckily though, if you didn’t pass on the first try, you’re allowed to retake it the following day, so there’s a bit of a safety net.
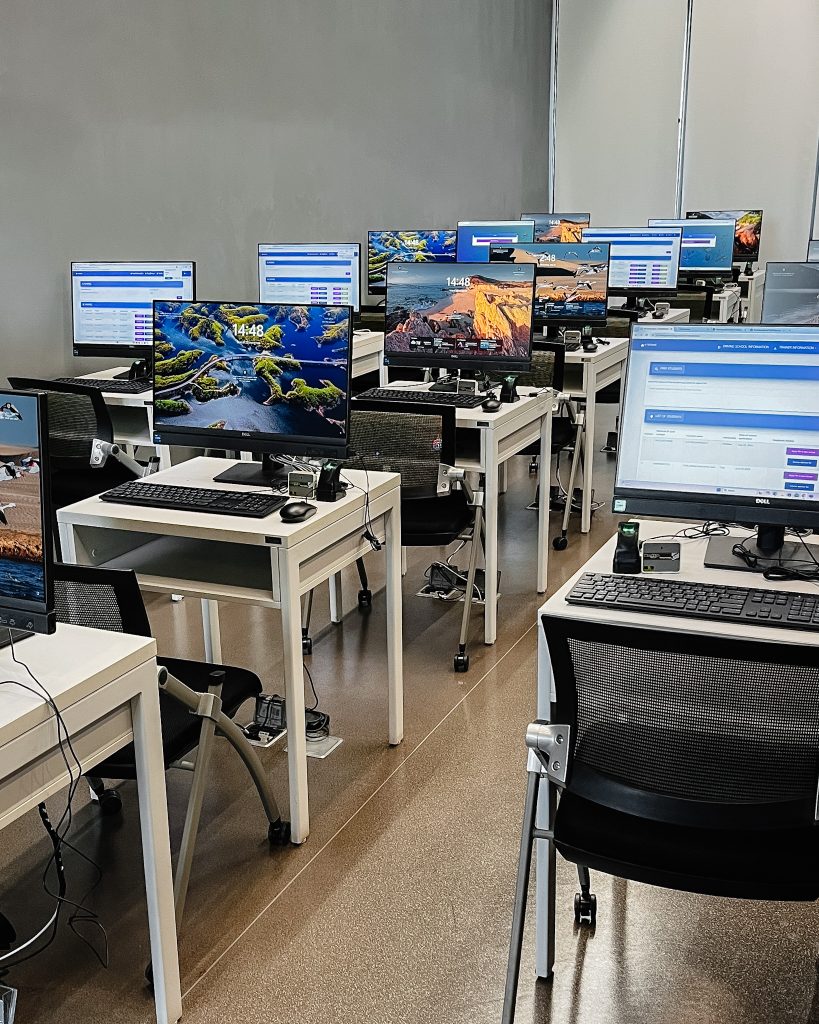
The exam!
The test itself consists of 50 multiple-choice questions, and here’s the tricky part: you need to get at least 45 correct to pass. That’s a pretty high bar! And to be honest, while some questions were straightforward, most of them were downright confusing…I’d even call them stupid. It often felt like the issue wasn’t the knowledge, but the translation – some of the questions didn’t make much sense, and in a few cases there seemed to be more than one correct answer. If you’re curious about what the test looks like, you can even find examples on YouTube.
I have no idea how I did it, but I passed my test on the first go! 47 out of 50! Woohoo. Could not be more happy about it.
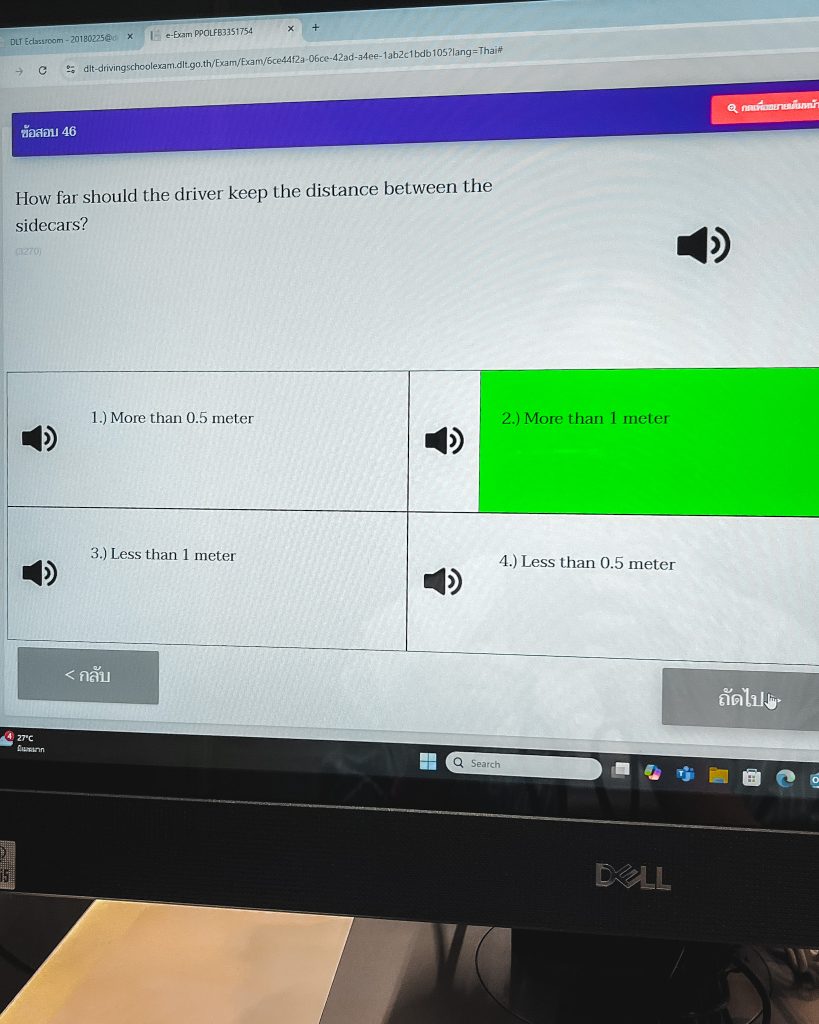
I have to say that the first day was long and intense and I returned home exhausted. But hey, I was one step closer to getting my licence.
Driving course – day 2.
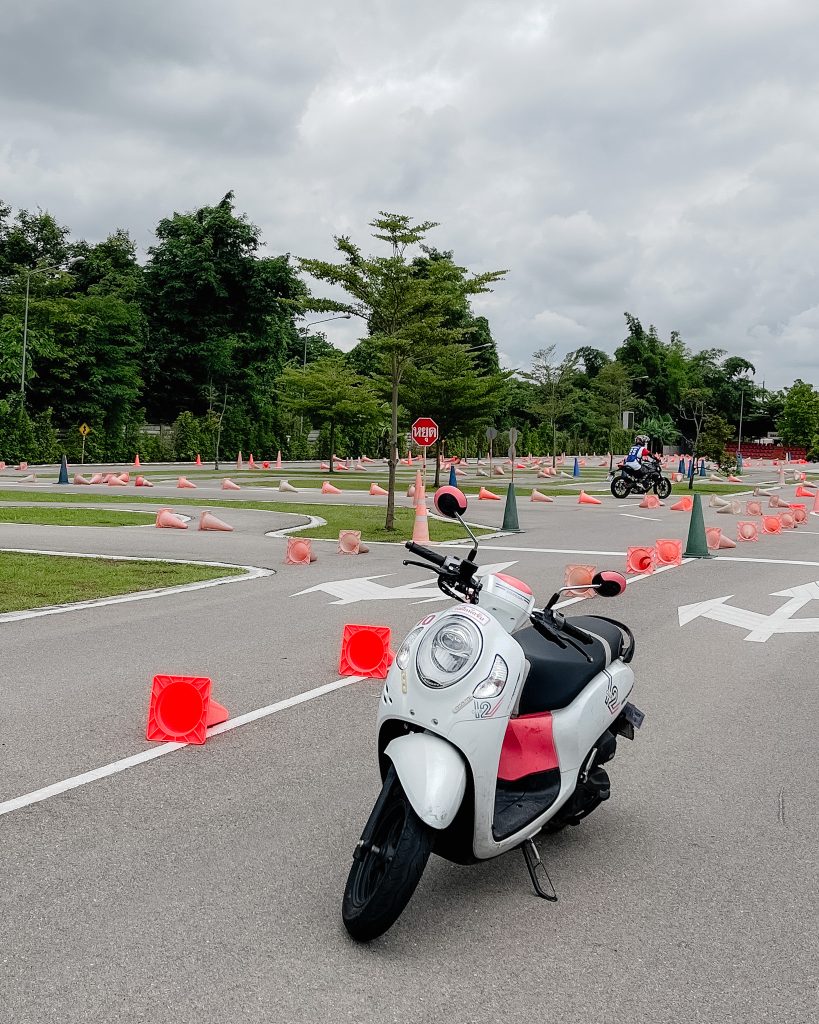
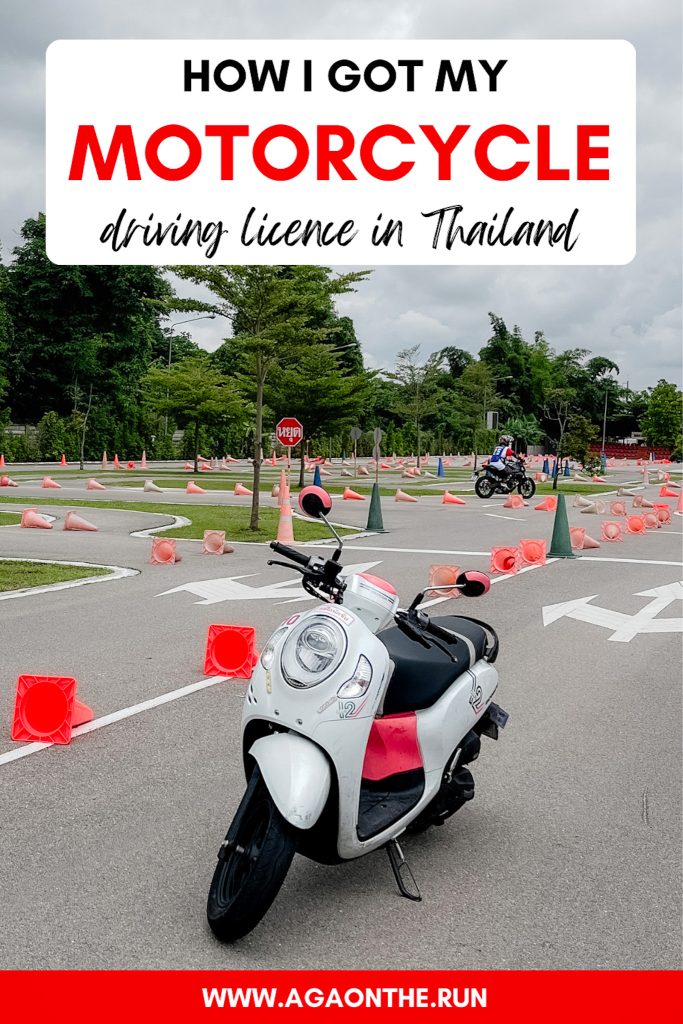
Day 2 of the course was definitely less intense than the first. Instead of being crammed with theory and exams, it was all about practice on the scooter track. The day was broken up into several intervals of riding, each one a little more challenging than the last. We started with the basics—things like starting, stopping, and turning—then moved on to trickier skills like emergency braking and tighter maneuvers.
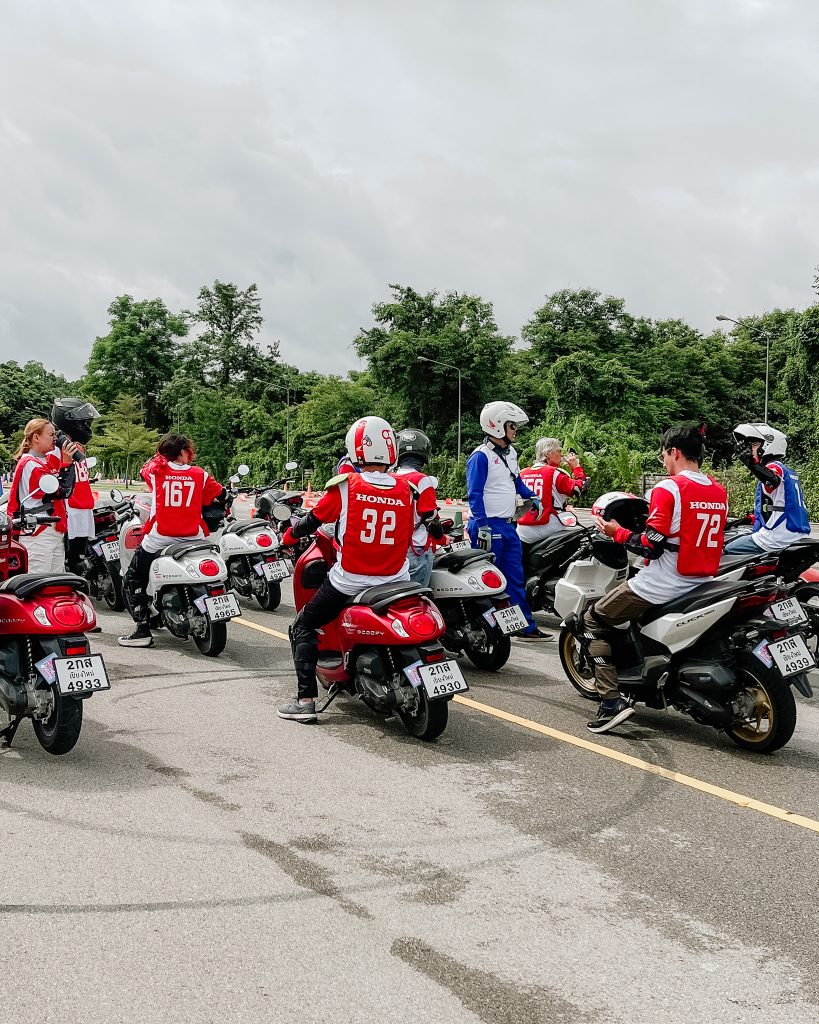
The school provided all the necessary gear: helmet, knee pads, shoulder pads, and a reflective vest, so you felt properly protected while riding.
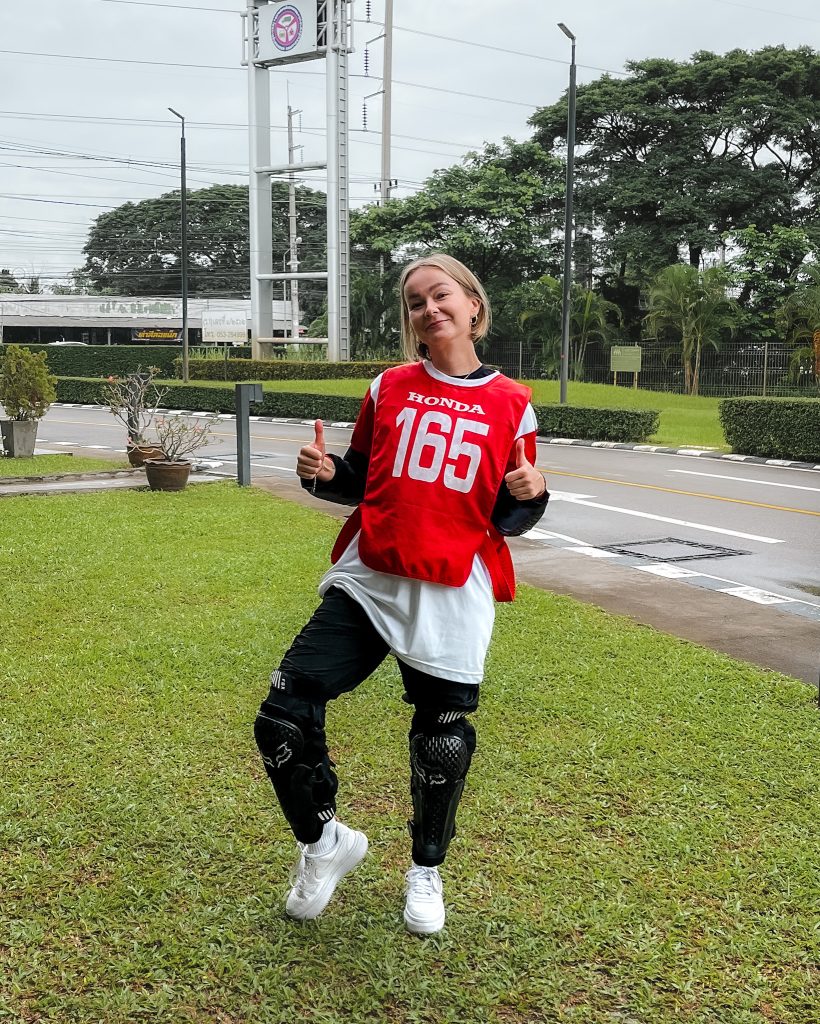
I’ll admit, there were moments when it got a bit repetitive and even boring at times, but overall, it was a really valuable experience. Even if you already know how to ride a scooter, the practice is well structured and thought out. For me, it made a huge difference – it helped me feel less tense on the scooter itself and, thanks to it, more relaxed on the road.
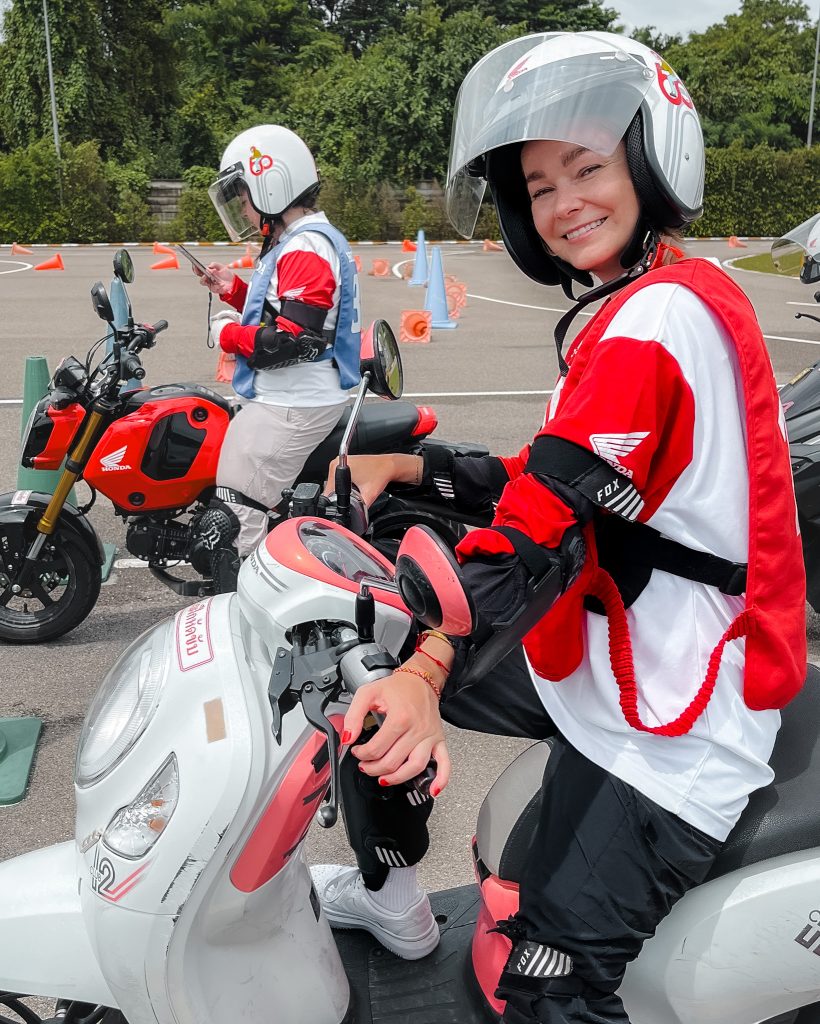
Driving course – day 3.
Day 3 was all about wrapping things up with the practice exam. In the morning, we still had some time to warm up on the track, but soon enough it was test time! The exam consisted of three parts: first, an emergency braking test where you had to accelerate to 40 km/h on a short stretch of the track and stop right before the marked line; second, following a loop set out by the instructors with required stops along the way; and finally, the classic slow ride across a narrow plank.
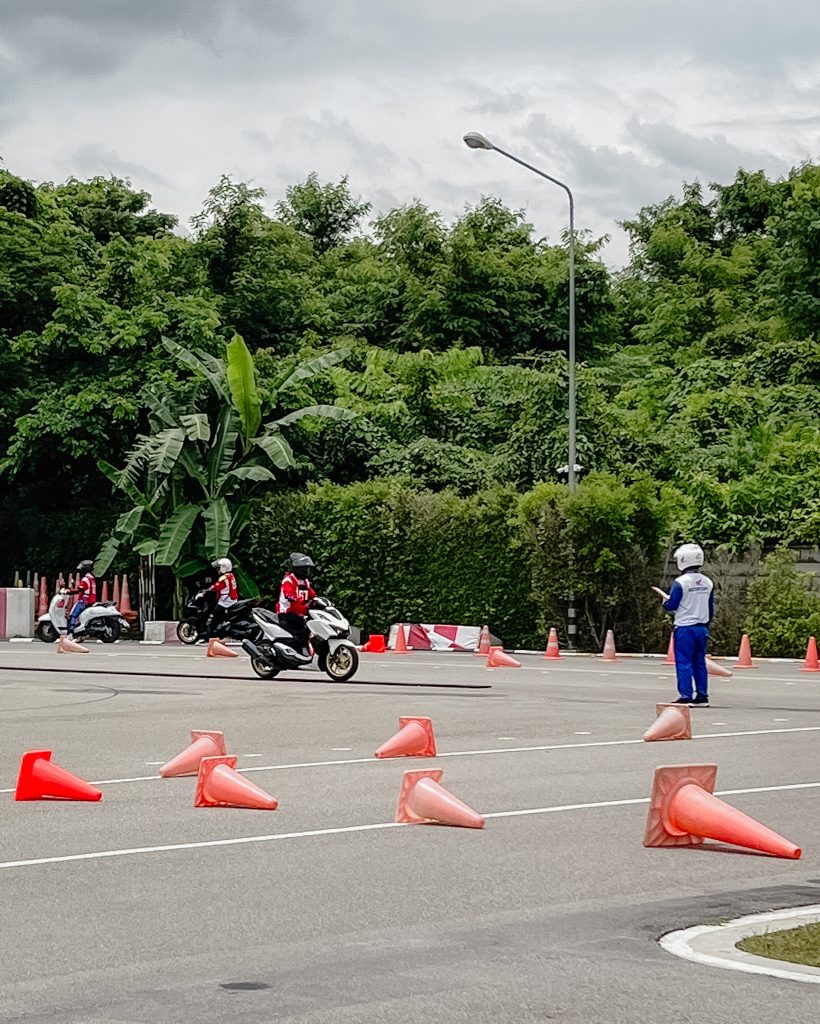
It really wasn’t too difficult and the nice thing was that if you didn’t pass on your first attempt, you were given another try. Luckily, I managed to pass all three tasks on my very first go. Yay me! After that, there was some more waiting (of course), broken up by a couple of quick additional checks in the exam room: a reaction test and a colour blindness test. Both were super easy…well, unless you are colour blind.
Finally, we received our papers, took some photos and just like that, the course was officially completed!
6. Go to DLT to pick up your driver’s licence.
Ok, I won’t be going into details here – this blog post is long enough, plus the instructor will explain everything during the “theory day”. Let me just quickly say that this step will require bringing all the collected (and mentioned above) documents, downloading the DLT app, making an appointment and going there first thing in the morning. The instructor will tell you to be there at 7 am – in my opinion there is no need for that. The place doesn’t open until 8.30 am and as a foreigner you will be directed to a separate “window” anyway.
Btw, if you type DLT Chiang Mai into Google Maps, 2 places show up. This is the one you have to go to!
How does collection of the driving licence look like?
After the officer checks if your documents are in order, you will be given a number to go and to pay for the licence (105 Thai Baht). Then, you will head straight to the photo line (yes, they take a photo of you on the spot) and after a minute or two you’ll receive your freshly printed motorcycle driving licence.
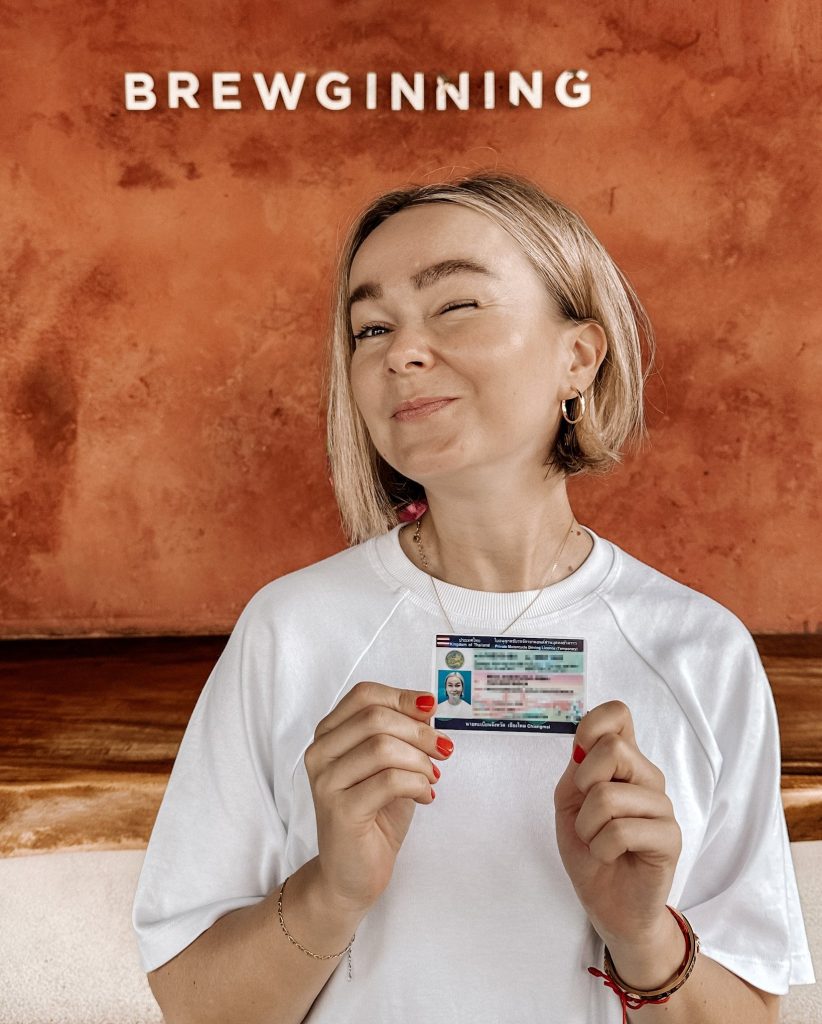
Apart from all the waiting in the beginning, everything went pretty smoothly.
Aaaa that’s it!
And that’s it – my full, slightly-too-long story of how I got my Thai driving licence. Sorry if it felt like a bit of a read, but hey, at least now you know every little detail, so you don’t have to wonder what to expect. The good news? Once you’ve got that licence in your wallet, you can finally hit the Thai roads with confidence, without the stress of dodging police checks. Freedom never felt so official!
Hi, it’s Aga, the author of this blog. If you found this blog post interesting, entertaining or useful, please think of buying me a virtual coffee to support the site’s running costs. But if you know me, I might actually spend it on coffee. Thanks!
Pin for later!



Hello Aga! Thanks for such a detailed and thoughful blog, it is extremely helpful! One question, did you already know how to ride a motorcycle, or did the 3-day course start with the basics, and is enough? (there is a pre-riding course on the Honda fb, deliberating if I should start with that as a non-rider). Cheers xoxo
Hi Jean, thanks for your kind words 🙂 Let me reply to you in painful details 🙂 You wrote “motorcycle” and I want to make sure we’re on the same page 🙂 I did my course and passed my test on the automatic scooter. And yes, I kinda knew how to drive. But, in my opinion there was enough time to get comfortable on the scooter, even if someone hadn’t driven it before. Tips from the instructors were also helpful. So if you want to drive an automatic scooter, I don’t think any pre-driving course is necessary. BUT, if you want to drive a real manual motorbike, with gears, I’d definitely consider the pre-riding course. It’s a bit more to handle (changing gears) and it might take a bit longer to get used to riding it. But obviously that’s just my opinion. You do you 🙂 Good luck!
Hi Aga
Thanks for the guide! This was very detailed and helpful. Especially with getting a residence certificate by the “fast track” option.
With your help, I was able to get my motorcycle license today in Chiang Mai by following nearly every step you mentioned here. (Also took the Honda safety license course in Chiang Mai)
Cheers
wow that’s amazing! Thanks so much for this comment! and congratulations! yes, the “fast track” is very useful 🙂